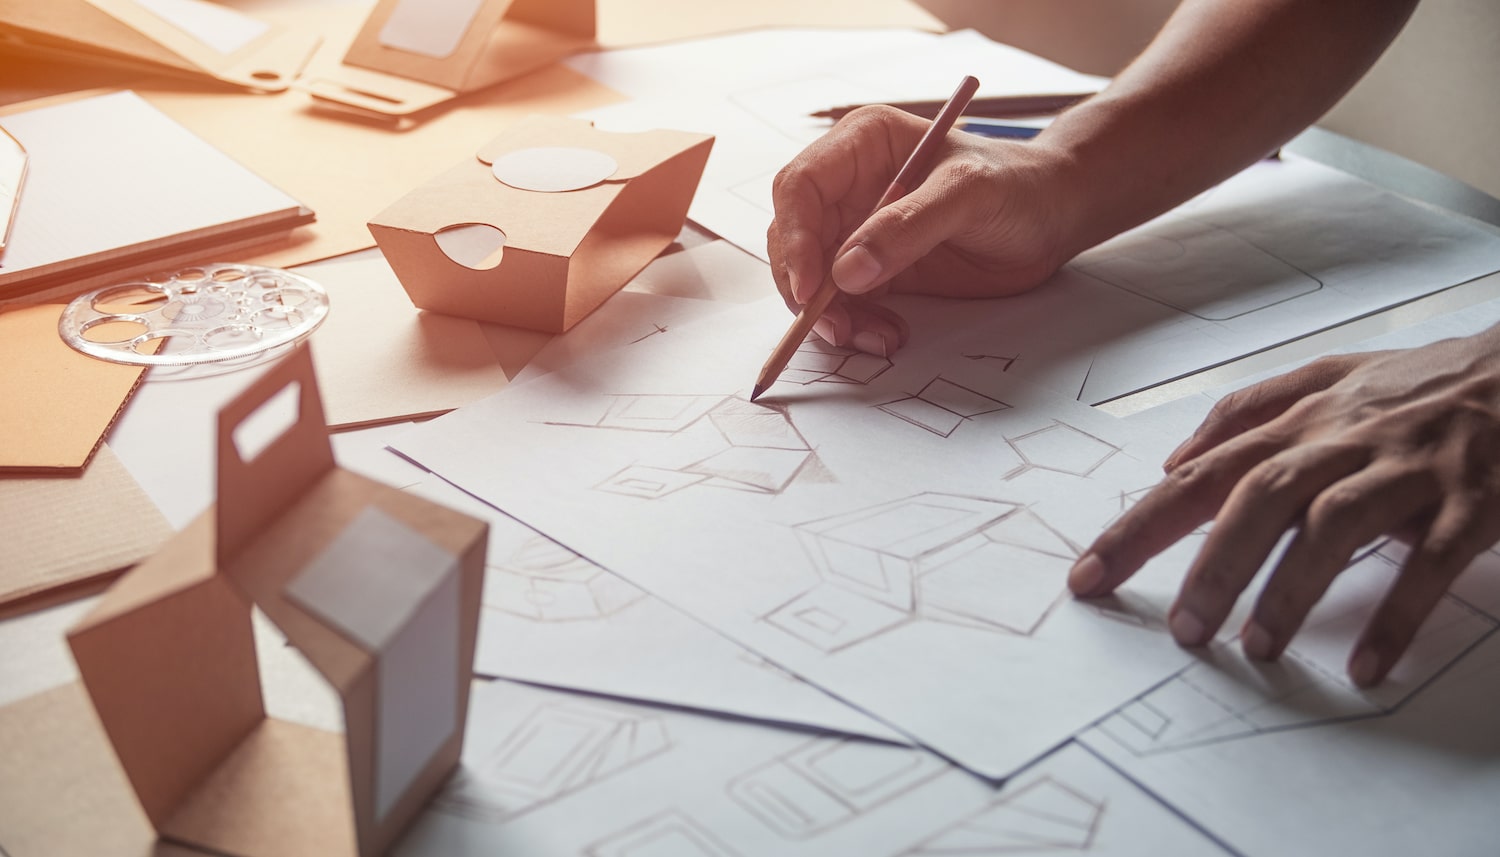
If you’ve been working with packaging for some time, you’ve probably heard about rasters and vectors before. These terms have come a long way from being a hotly debated topic among cartographers and geographers about which format to use for making maps. “Raster is faster, but vector is corrector!” is a famous saying representing the stand of each camp.
Today, knowing the difference between raster and vector images is crucial in packaging design, which prizes accurate and consistent print quality. Discovering their attributes allows you to choose the most appropriate type—or at least helps you appreciate why your packaging designer used one type or a combination of them.
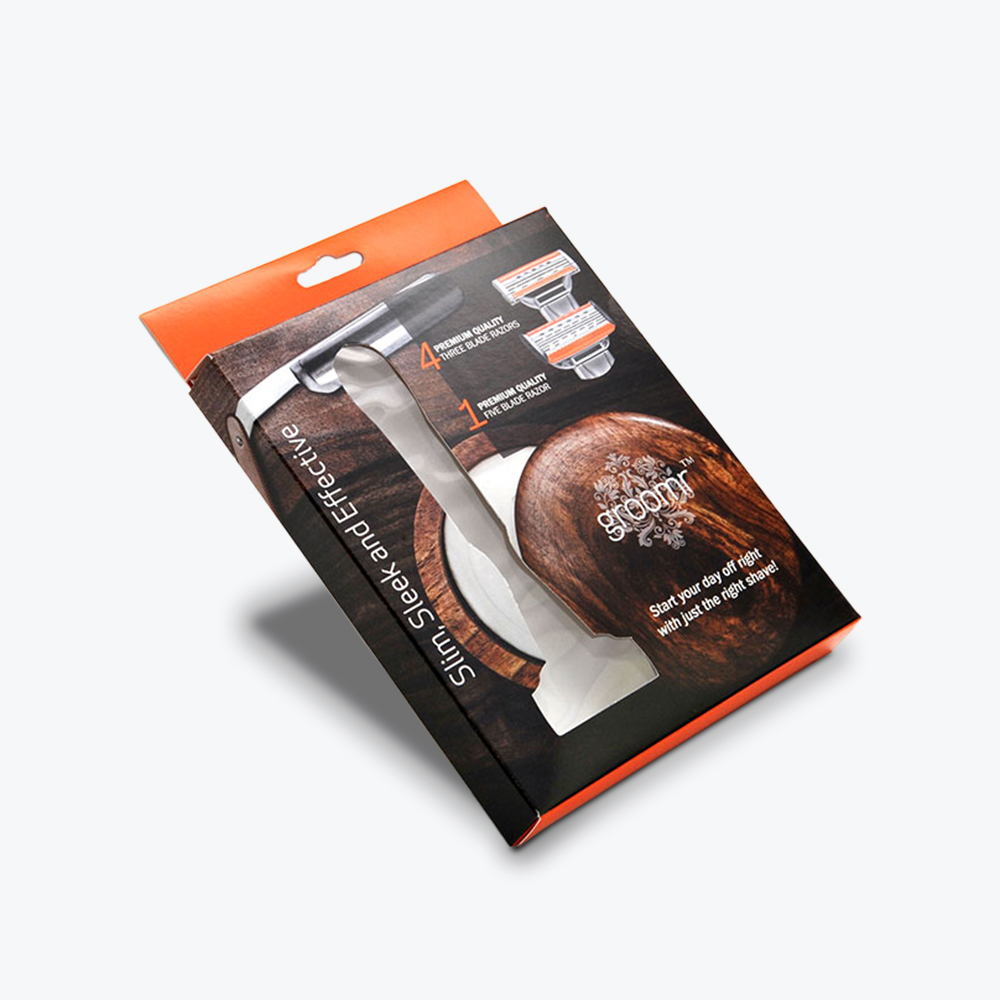
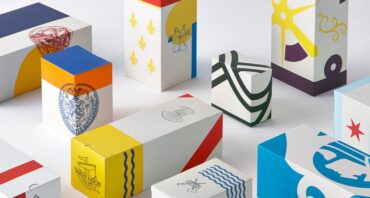
Designers understand that their creations look different in 2D—on a computer monitor or a printed sheet—and in 3D—or the printed box. That’s why they save designs in a format that will preserve their look during the printing process. Moreover, designers aim to ensure that their creations—your brand logo and illustrations—stay sharp and comprehensible under store lights and beside other similar products.
Captivating with Visuals
One study says that brands have aseven-second window to convince shoppers to buy their products. According to anotherresearch, visuals—such as your logo, product name, and artwork—are among the first design elements that catch consumers’ attention. Imagery is an undeniably powerful design element.It represents your brand and shapes the public’s view of your business before they even try your product.
The percentage of consumers who value a product’s packaging when making a purchase (10%) is about the same as those who prioritize the brand name (12%). So you must make sure that your packaging and brand assets appear crisp and stir curiosity, trust, and pleasure.
Leveling Expectations: Understanding Raster and Vector Files
Packaging designers save their creations as raster or vector files, the two main groupings of image formats in the digital art world. Understanding the strengths and weaknesses of these two image types points us to their best applications.
Raster Images (Bitmap Images)
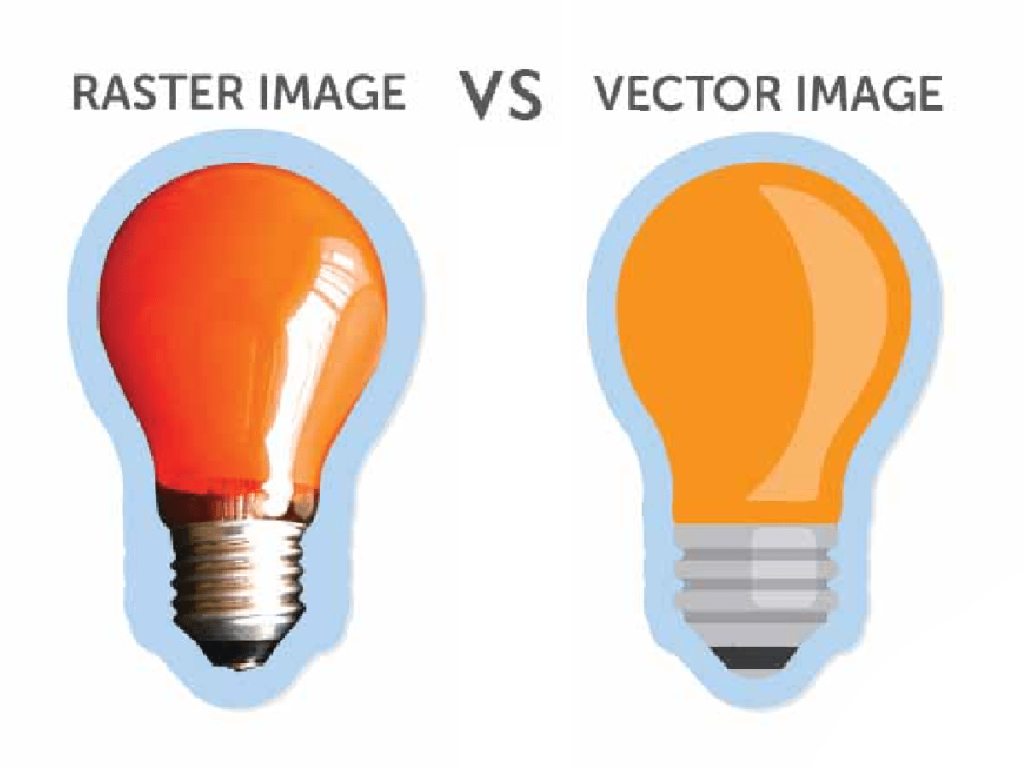
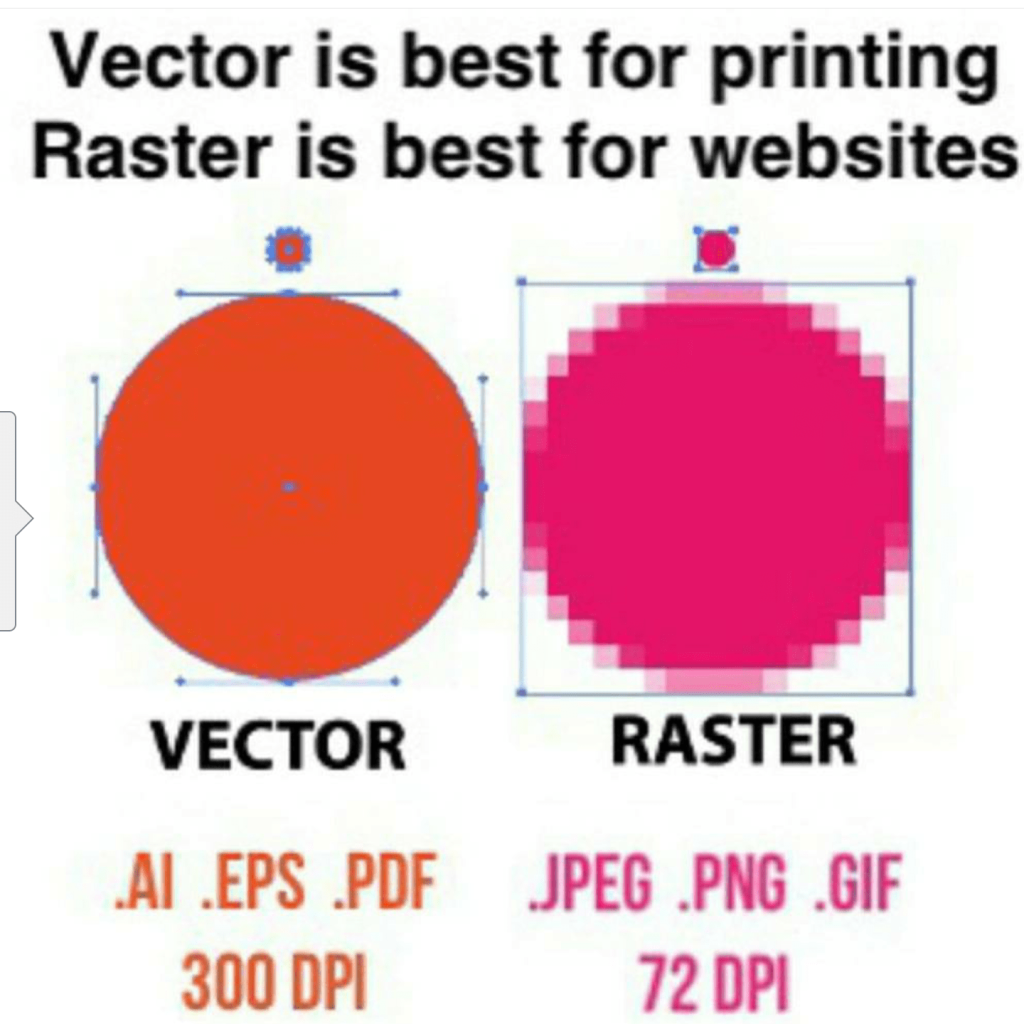
A series of tiny colored squares or pixels blend and form a raster image. Like a mosaic, each raster image contains a fixed number of pixels, expressed in dots per inch (DPI) or pixels per inch (PPI). The pixel number determines the image’s quality or resolution. Raster images with high DPIs or PPIs allow you to enlarge them without looking grainy or blurry—or what we call pixelated. However, these images come in larger file sizes.
Photographs and scanned images are examples of raster images. 300 DPI is the best resolution for printing, while 72 DPI is ideal for website images. Raster files, recommended for non-line art images, can undergo editing using Adobe Photoshop.
Vector Images
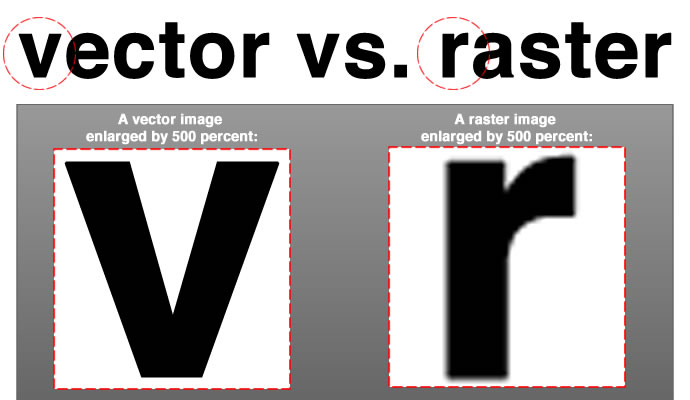
Mathematical paths, shapes, and curves define the direction (starting and ending points) and the magnitude of vector images. Because these files aren’t pixel-based, you can scale them up to billboard size or down to fit a pin or button without losing quality.
Logos, illustrations, fonts, icons, and graphics created in Adobe Illustrator are examples of vector graphics. Their file size is relatively small because they consist of lines and anchor points, making them faster to transmit through email or other file-sharing platforms.
Image File Formats
Printers typically tell you their required file format and other specifications to make your design “print-ready.” Read our list below to familiarize yourself with various file formats for raster and vector images.
Raster files
TIFF or tagged image file format (.tiff)
TIFF was the most common format for saving high-resolution images bound for printing until the early 2000s when PDF and other vector formats became more popular. This file type uses lossless compression, resulting in large file sizes but high-quality images. TIFF can save transparent backgrounds.
JPG or joint photographic experts group (.jpg)
A JPG file is a compressed image with thousands of pixels saved as a flattened bitmap that uses less space. This method results in a smaller file size and quality loss— also referred to as lossy compression.
The quality loss is generally not noticeable unless they’re sharp lines and geometric shapes, which become blurred as a result of compression. Moreover, this file type doesn’t save transparent backgrounds. Images with such backgrounds become a solid color when saved in JPG.
These images support a 24-bit palette of color, making them the best format to use for photos. Most website images and non-professional prints use this format.
PNG or portable network graphics (.png)
Unlike JPG, PNG is a lossless format and has larger file sizes as a result. These files are more versatile than JPG, as they support transparency, allowing them to blend with different backgrounds. Due to their low resolution, PNG images are more suitable for web graphics than printed materials.
BMP or bitmap image file (.bmp)
BMP images also belong to the uncompressed file category. Microsoft developed this format to appear in Windows programs, but you can open and revise these files in major image-editing software. Experts recommend this high-quality format for archiving images or documents.
GIF or graphics interchange format (.gif)
You can find GIFs widely used today for web-based animated images. This format has a small file size and supports transparency. However, GIFs can only carry 256 colors, not making it advisable for photos and high-quality printing.
HEIC or high-efficiency image container format (.heic)
HEIC is the format of images taken on iPhones and other Apple devices using iOS 11 or later. It only needs half the storage space eaten up by JPG images. Windows have developed extensions that convert this file type into JPG.
Vector Files
PDF or portable document format (.pdf)
PDF is a popular format for printing because you can create it from various programs, and it preserves your formatting and layout. The file is commonly associated with vectors, but it can also contain a raster image, depending on the software you use to create it.
You can also encrypt the file, setting passwords and digital signatures for access. However, PDF isn’t the best choice if your design will still undergo editing later.
EPS or encapsulated postscript (.eps)
Like PDFs, EPS files preserve their resolution or image quality when you scale them. Although no longer as popular in the design and printing process, many designers still use them for saving the logos, icons, and illustrations they create.
Adobe created EPS in the 1980s to cater to artistic typography projects. This format aimed to ensure that image quality remains intact during text resizing, particularly for large format printing. You can edit EPS images in Adobe Illustrator and CorelDRAW.
AI or Adobe Illustrator (.ai)
Adobe introduced the AI format to replace the older EPS. AI images require Adobe Illustrator to view and edit (although CorelDRAW and other programs offer limited functionality). This format supports transparency and special effects.
CDR or CorelDRAW (.cdr)
Like AI, CDR files only work with full support within CorelDRAW’s platforms. The format is another good option for illustrations, icons, and logos.
SVG or scalable vector graphics (.svg)
SVGs are formats with small sizes that you usually find on the web. Some of its best uses include graphs and diagrams for websites.
This table summarizes our discussion on vector and raster images so far:
Vector Images
Raster Images
File types
.tiff
.jpg
.png
.bmp
.gif
.heic
.pdf
.eps
.ai
.cdr
.svg
File size
Typically small
Typically large for high-quality images
Resolution
Scalable
Non-scalable; must be saved in higher DPI/PPI to avoid pixelation when enlarged
Accessibility
Vector graphics programs: Adobe Illustrator, CorelDRAW, Affinity Designer, or Inkscape
Rasterization (converting vectors to raster format) is easy.
Vectorization (converting rasters to vector format) takes time. Skills in editing programs and higher-end hardware (due to a raster image’s large file size) may be necessary.
Uses
Small and large-format printing
Website publication and printing of photos, sketches, and paintings on paper-based media (books, newspapers, and magazines)
How to Prepare Your Artwork to Achieve the Best-Looking Prints
After learning about vector and raster images, you can now be on the same page with your designer and printer in preparing your design for printing. Here are some tips to ensure the final product will feature clear imagery:
1. Know your printer’s file-format requirements
Most printers require a vector file. Ask your printing company about the specific file format it needs. Moreover, verify if the file should include layers and cut and fold lines.
2. Check your colors
Consumers take around90 seconds to decide how to interact with products. Moreover, color influences up to 90% of their initial impression. So be aware of colors and how they will register on your chosen packaging material. For instance, Kraft paper can carry darker colors well. However, not all printers can print white ink on this material.
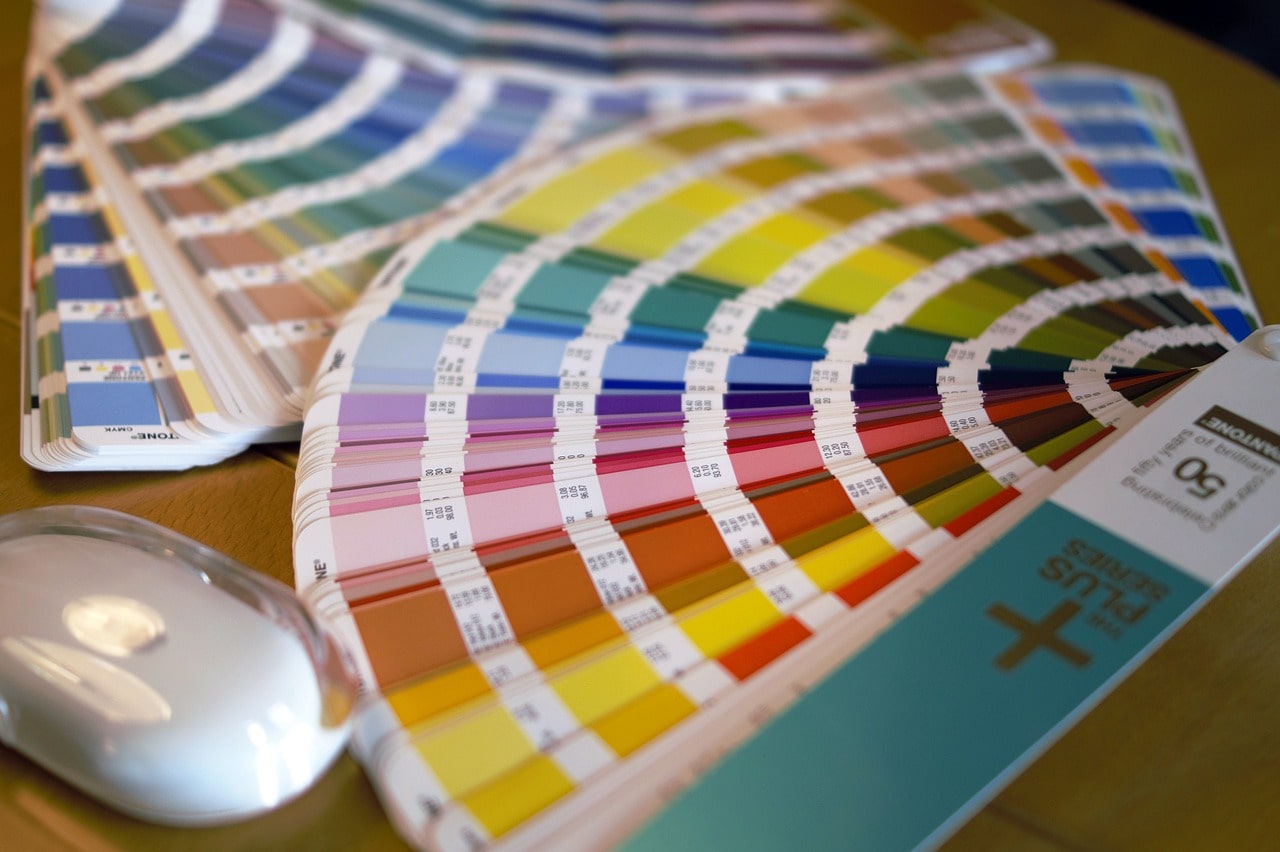
Files bound for printing are typically inCMYK (cyan-magenta-yellow-“key” or black) mode. Images for websites and other digital media (on-screen displays) use the red-green-blue or RGB model. Ask your printer if it can match yourPantone or specific colors.
3. Get the correct files from your packaging designer
Unless your designer or agency included printing services in their package, relay your printer’s requirements so you can submit a “print-ready” version of your design (including dielines and color codes if your printer does custom colors).
4. Verify your paper or packaging material choice
This step can coincide with your ideation process or when you and your designer discuss your preferred material as part of your project or design brief. Your packaging designer and printer can confirm whether the material you selected is compatible with your preferredprinting technique.
5. Request a custom box sample
The best printing service providers can give you a sample to view the final product up close and make any final tweaks before mass production.
Questions for Evaluating Packaging Visuals
Once you get your prototype, you and your team can ask these questions to help you gauge your target market’s reaction to your packaging’s visuals:
1. Is it clear, and does it define your product right away?
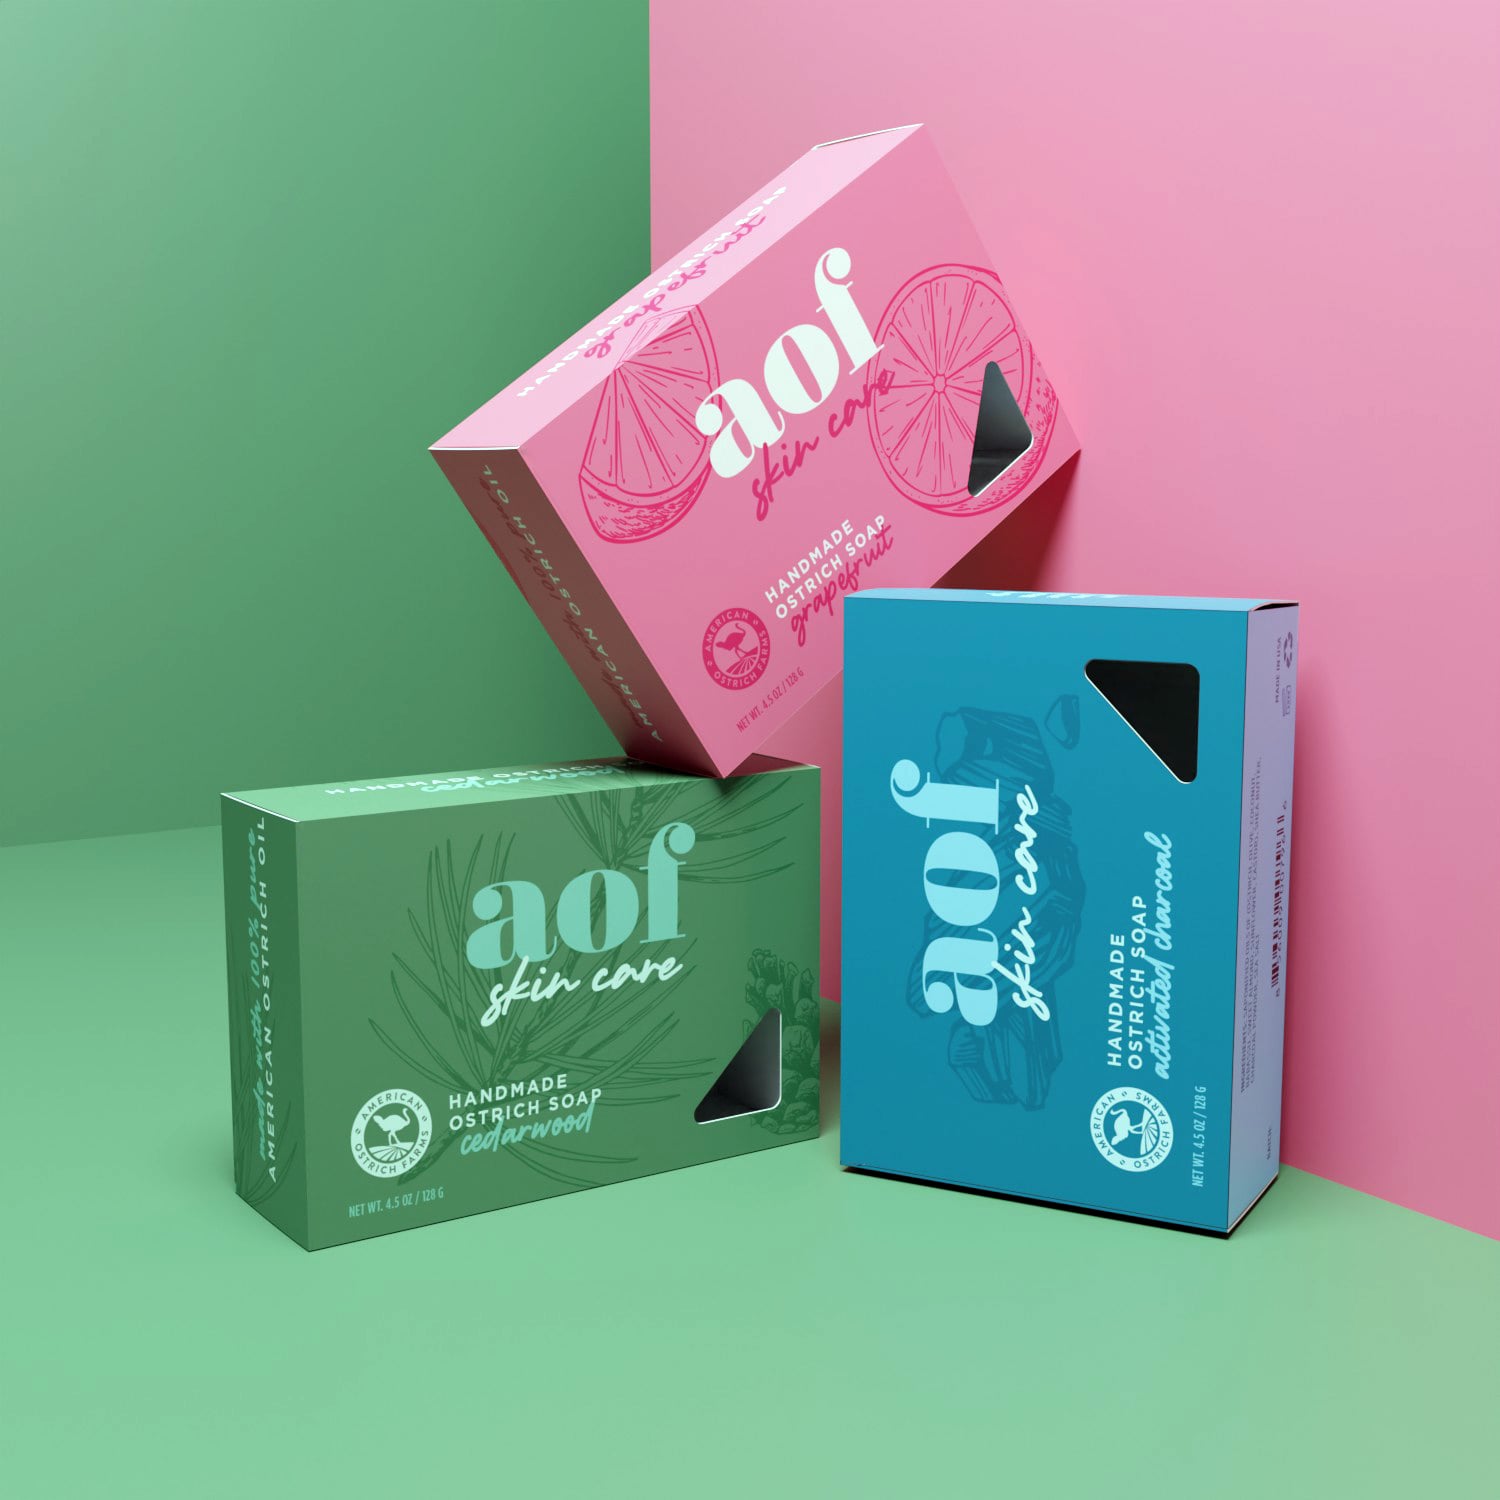
Your packaging should immediately let buyers know what your product is and its purpose. Avoid confusing shoppers—don’t package your soap bars like food unless such design is part of your marketing strategy.80% of customers are willing to try new products that help them attain their goals.
2. Does it honestly represent its content(s)?
Photos and descriptions on your packaging should accurately represent what’s inside, such as quantity, flavor, and so on.
3. What is the packaging’s “shelf impact”?
Visit one or more shops that will sell your product and see how it fares when ondisplay with your competitors’ products. Does it stand out? How can your packaging be more noticeable?
Your product’s most important information should be front and center so that consumers can discover your brand when it appears between others of the same category on store shelves.
If you run an e-commerce store or subscription box service, visit sites that offer products like yours to determine your packaging’s visual appeal. Search engines (55%) andretailer websites (34%) are among the consumers’ top three sources of pre-purchase information.
4. Is the design versatile enough?
When you decide to introduce variations of your product, can you easily modify your design for one or more variants?
Choose Professionals for Your Artwork and Printing
Outsourcing the creation of yourcustom-printed product box to a packaging designer or design agency is the most effective route to achieving yourbranding goals.
Agencies and printing firms specializing in packaging can recommend, develop, and execute designs that grab attention and elicit curiosity, excitement, and pleasure.
At Refine Packaging, we don’t just produce stunning boxes. Ourcustomer support can start from artwork design guidance and structural engineering. If you already have a design, you can visit ourArtwork Guidelines to help you or your designer send a print-ready file. The checklist, which includes our file format and other requirements, will allow us to process your order—or first produce amockup—with minimal to zero hitches.Contact us today so we can connect you with our design team.
Amanda is a professional writer and brand strategist at Refine Packaging who is based in Los Angeles, California. With a background in writing and journalism, Amanda entered the manufacturing industry 6 years ago to explore her unique passion for beautifully conceptualized packaging. With years of packaging experience, Amanda has a deep understanding about how brand psychology and box design trends impact emotions and desired actions. When she’s not writing, Amanda can be found snuggling her two Beagles or outdoors sipping on sparkling white wine.


 Alex Jasin

 Amanda Jane Rivera

 Asif Muhammad


.svg)
Share